
Our kitchen is NOT our style at all. I don’t even know what you would call it. The previous owners did a major update, it has granite countertops, new-ish appliances, and new cabinets, but the colors and style just aren’t our family’s style.
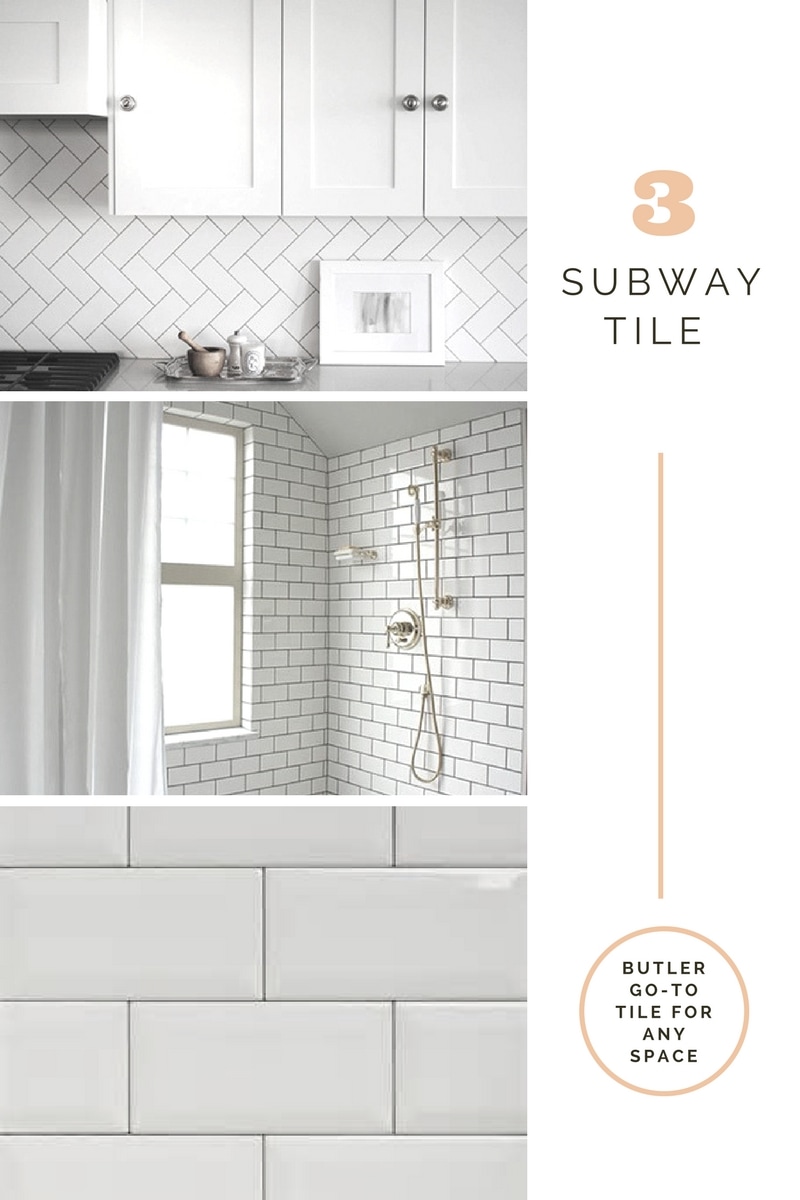
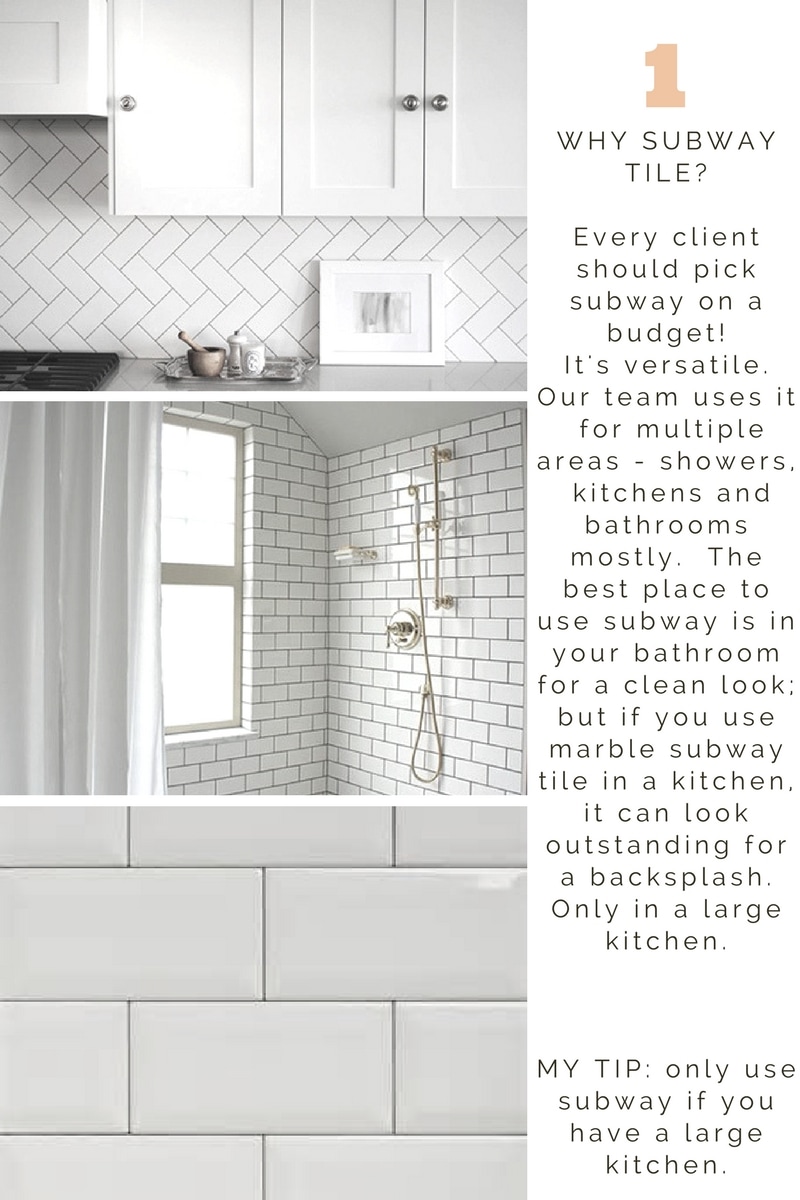
I’m going to guess some of you out there don’t have your dream kitchen either? Okay probably the majority of you who own homes would probably change a few things about your kitchen, if not give it an entire gut job, right? When creating the vision, our recommendation: start with the backsplash first.
Butler Interiors are kitchen remodeling experts. I’m an in-house designer and work with certified installers and countertop fabricators to help you remodel from start to finish. We do complete remodels including design, cabinetry, countertops, project management, permits, etc. But first, here’s a quick look at my favorite types of backsplash tile:
Click to set custom HTML
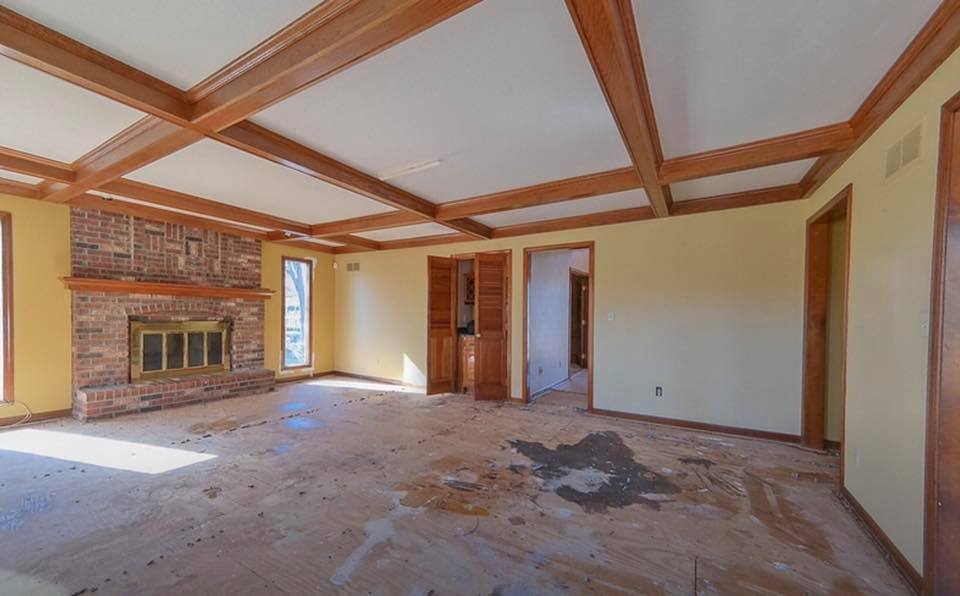
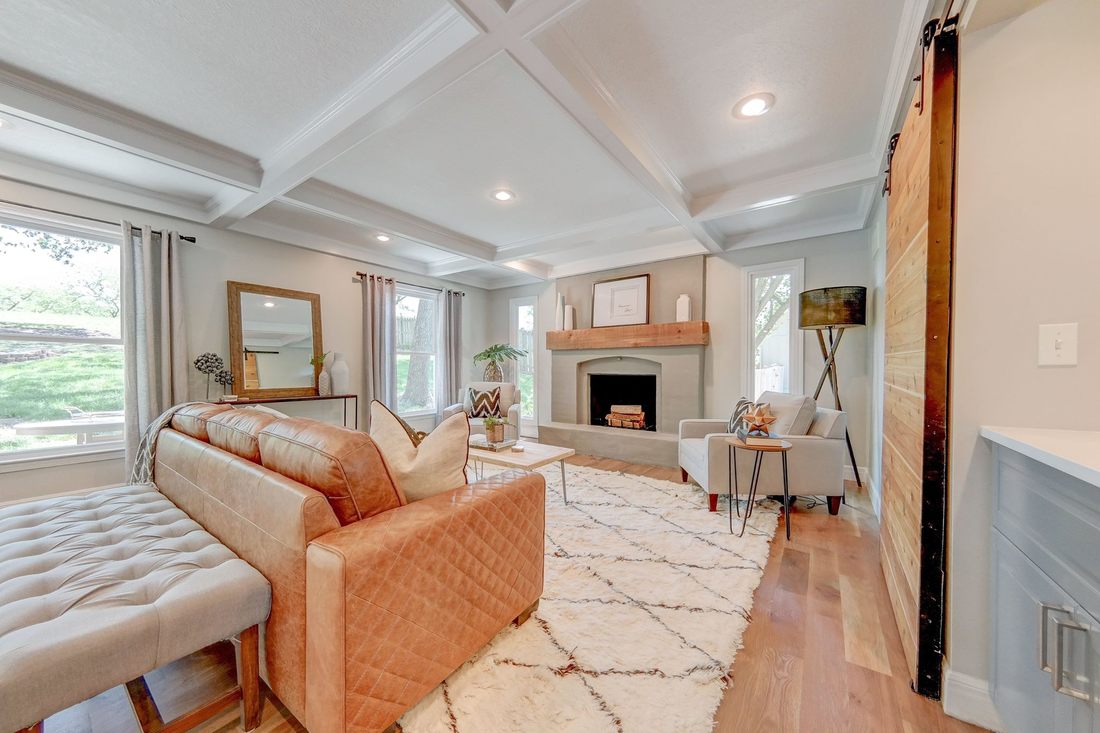
One of our most recent projects was working with some top realtors for the first time. KC Real Estate group partnered up with Butler Interiors and Exteriors and some other top contractors - to completely renovate this home in Liberty. Fireplace renovations is one of our favorite things to do for our clients. We wanted to go for a classic look with a fresh twist. First, a full concrete fireplace -yes, concrete. Smoothing out every edge for a really nice finished look. Then, we created a custom cedar mantle as a feature conversation piece... that is built solid for all TVs and other decorative items. Must say it's fun to see the finished look. This home sold in 1 day .Check it out and reach out to us for more details on custom fireplaces!


THIS MONTH:
3 Quick Tips and Tricks for using Interior Ledge stone
1. First, always make sure you have a solid structure to apply the stone and the correct masonry adhesive for the type of stone being applied.
2. Patience is a virtue! Just like tile, if you rush the process you will regret it.
3.Have in mind the finished look and layout you are going for before you begin. It is all about building on a solid foundation when it comes to stone. Once you start, you will want to continue the same pattern and consistency throughout.
This Fall:
The Popcorn Ceiling Dilemma
Here in Kansas City, the percentage of homes built in the late 80s and early 90s makes up the majority of the home market in the surrounding suburbs. Because of this, many homeowners have purchased homes with older popcorn ceilings that are either frustrated to look at, or show imperfections like cracks and crevices as the home ages and shifts throughout the years as much as other ceilings like orange peel and knock down ceilings. Recently I updated our own popcorn ceiling as there were cracks across the entire kitchen and dining room area. Here's some tips to get the job done on your own quickly - and CLEANLY.
1. Wet the ceiling before beginning to remove the popcorn from it. Using moisture prevents as much dust from accumulating when you are removing it, and helps for easier removal.
2. Expect to make a mess - and use plenty of plastic to cover the essentials. I know, this is not a fun task. But the more plastic covering you invest in and spread across the floor and furniture of the room you are removing, the easier your life will be at the end of the job.
3. BE LIBERAL! If you are re applying popcorn texture, do not be afraid to use a heavy amount across the surface area. You will be surprised how much you need in order to get the right texture, depending on the 'grade' of popcorn ceiling you have in your home.
4. Lastly, this is not a fun home project. When in doubt, reach out to an interior remodeling or renovation company (like Butler I&E) to get the job done with minimal mess and frustration.
SPRING:
BEHIND THE CURTAIN: KANSAS CITY REMODEL AND GARDEN SHOW
This year was my first year checking out the trade show here in Kansas City. The best part about this trade show is seeing the variety of vendors, (from custom window companies to flooring specialists) and helped me meet various wholesalers to keep my pricing low year-round. It was great to meet other quality contractors like myself -- and seeing the different levels of expertise. There are two vendors that inspired me this weekend:
One. Pets society's raffle for various custom built dog houses -- I'm always supportive of a good cause. Each dog house purchase goes straight to fund their non-profit. (Yes - I build custom dog houses too!)
Two. Custom tape roller -- now this might sound extremely boring, but this tool is fantastic. Instead of spending 80% of your paint job on prep/taping, this tool allows you to tape an entire room in less than 10 minutes.
Find Butler Interiors & Exteriors at the KC Remodel and Garden Show next year!
JANUARY:
5 STEPS TO DRAMATICALLY CHANGE YOUR HALLWAY
I've decided to take a break from my projects to focus on another passion of mine, providing sound advice to homeowners like you on small improvements you can make each month to your home. This week I’m going to be giving you advice around improving the look of your hallway with just under $100. Paint projects like this one is great for a new look, especially for homeowners who have pre-finished or un-finished doors.
Instantly add value to your home by simply painting your interior doors to create an open feel.
Step 1. Gathering Materials. I always recommend purchasing Sherwin Williams Paint in semi-gloss finish (1 gallon = up to 6 doors), sandpaper (ask your local home improvement store for 120/80 grit), plastic to cover your surface (your garage is a perfect work space in the winter), a paint brush and a paint roller.
Step 2. Set up. First, find a large work space to place your doors when painting. I recommend using your garage or basement this season. Next, remove all hardware from each door using a philips or flathead screwdriver. This is critically important to ensure full coverage when painting. Butler Tip: Make sure to organize store all those pesky screws and knobs somewhere safe (I tend to put them in a ziploc bag for each door). Also on the bottom of the door write what room it came from.
Step 3. Sand never hurt anybody. No matter if you have pre-finished doors or un-finished doors, I recommend that you take the extra hour or two and quickly sand each door to give longevity of your paint and get rid of any varnishes or oils. Be sure to wipe down the doors after sanding so it is dust free before painting!
Step 4. Let's get rolling! Before you start painting, lay down plastic across the entire surface of your workspace, and elevate doors off of the plastic using bricks, old shoes, or any 'prop' that doesn't allow the door to touch the plastic. This helps to prevent any dripping effect on the bottom side of your door and prevent your doors from sticking to the plastic. Begin painting with the grain - steady, long strokes - starting with one side of each door. Wait 2-6 hours for the paint to dry, and begin painting the opposite side. Don't paint over your writing (you will not see it once door is hung).
Step 5. Re-Installing. After paint has dried it's time to put them in place. Look at your writing to see what door goes where and start drilling or twisting. An easy way to do this is to start with the very top screw than the very bottom screw of the door.


|
DECEMBER:
This just in! Butler Interiors is now featured on Houzz! Houzz is a place to browse and save beautiful home photos. A place to find the right design and construction professionals. A place to connect with others who have been there too. Houzz started as a side project but has become a community of more than 20 million homeowners, home design enthusiasts and home improvement professionals—across the country and around the world. Check us out |

|
Butler Interiors & Exteriors will be at the KC Remodel + Garden Show on Saturday, Feb 7 to visit new local homeowners shopping for specific projects. Come find us and check out the crowds, exhibits and energy!
|